
Whether you are creating a website for yourself or a client, you can’t neglect User Experience (UX). Your website, of course, will not be successful if users have a hard time navigating the website and finding the information they need.
Luckily, there’s a great strategy with which you can improve UX before your website even goes live. With a wireframe, things become a lot easier for both the designer and the developer as they can work on the website without being distracted by colors, copy, typeface choices or other design elements.
If we dig on a deeper level, wireframe enormously helps to determine how the user will interact with the interface. For instance, wireframes can include different menu behaviors and sets of buttons. Just like in an architectural blueprint you need to look at the two-dimensional black and white diagrams before you build the actual house, you cannot write blocks of code and build pixel layers in Photoshop without knowing the placement of the information in the design.
The attention is paid more on user experience and functionality than the aesthetic characteristics of the on-screen elements. In others words, if a user fails to figure out where to go on a black and white frame, no matter what colors you eventually use the user experience will be poor.
How to Wireframe a Website
Creating a wireframe may be a laborious task, especially if things didn’t run smoothly during the testing stage. But, when you solve UX issues beforehand, your website stands a higher chance of becoming successful in the future.
Step 1: Conduct Your Target User Research

Prior to drafting your wireframe, you need to carry out thorough research, create user personas and complement this with further industry and competitor research. This will help you define the features that need to be highlighted on your site and attract more visitors.
Researching into the latest UX design trends and best practices is also a good idea as it gives you an insight into elements such as the positioning of your logo, menu layouts and other branding elements.
Step 2: Pick the Tools for Wireframing
You may choose to create wireframes digitally or by hand. If you select the latter option, all you will require is a pen and paper to get started. The majority of designers use a ‘low-fidelity’ paper wireframe for brainstorming and then produce a ‘high-fidelity’ digital version later.
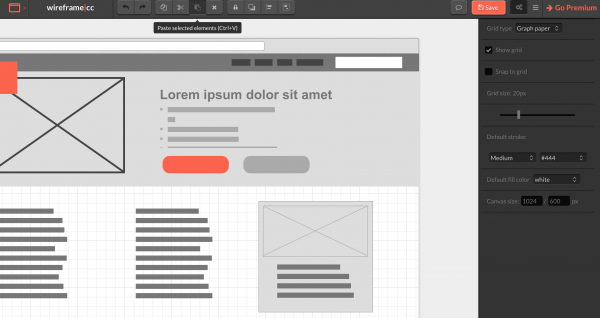
You may even hire a web design company to do this for you and relieve your burden. However, if you’re a Do It Yourself (DIY) site owner and have a tight budget, there is a wide variety of wireframe tools you can choose from. You might give free tools such as Wireframe.cc a shot. As a minimalist web app, it provides two types of templates for creating wireframes in a mobile or browser interface. The best part is, this web app doesn’t require any complex configurations. All you need to do is sketch out your ideas on a virtual drawing board.
Alternatively, you can utilize UXPin, which offers multiple functionalities. The most prominent one is it allows you to build responsive clickable prototypes directly in your browser. InVision is another option that is also completely free. With InVision, you can take direct feedback from your team and users through clickable mock-ups of your site design.
Step 3: Draft Your Wireframe
After you’ve gathered tools and the necessary information to wireframe, get into drafting your web design. Avoid getting into details and thinking about aesthetics as the UI designer can work on that. Focus on outlining and representing formats and features, such as buttons present on the page or the navigation menu.
Step 4: Map Out Your User Flow
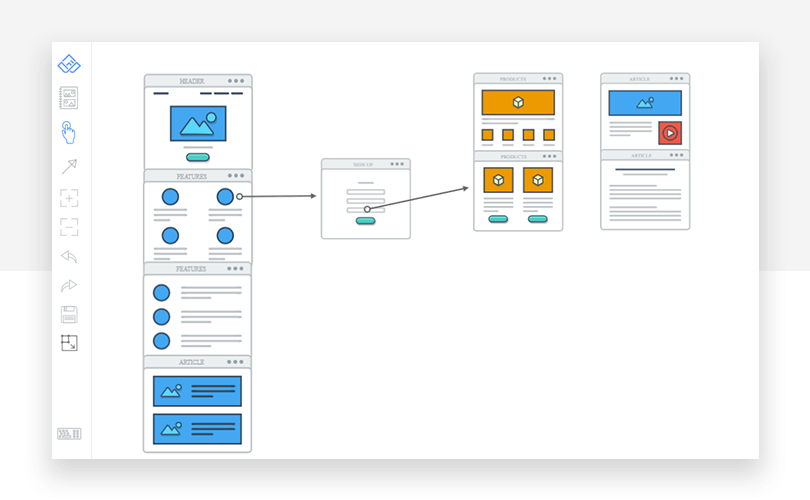
User flow refers to the path a user follows through your website interface to complete a task. For instance, if you have an e-commerce site that sells linen clothing for women, the user flow may roll the user from the product page to the end of the checkout process.
When you determine the key tasks users need to take and ensure you have a good information architecture, you reap huge benefits. Users don’t bother your customer service for painfully simple tasks, which ultimately leads to lower levels of user frustration. And that means, a decrease in bounce rate!
Step 5: Run Usability Test to Try Out Your Design
So now that you are done with your initial wireframing, it’s time to test it. This will let you determine if you managed to generate the simple, natural user flows and UX for your site.
In case you work in a team, the first round of testing will be conducted internally. Pass the wireframe to each member of the team to see if its usability is up to the mark. Have everyone work independently on the project, so no one’s feedback influences the other. Also, note down any issues you run into. You may also utilize some tools to get a more objective usability testing for your wireframe.
UsabilityHub is an outstanding tool through which you can collect qualitative feedback and have an understanding of the basic user flow. Small sites and non-designers can leverage its free plan. Professional designers and teams can benefit from the advanced features for in-depth testing.
Step 6: Turn Your Wireframes into Prototypes

Once your wireframe has undergone testing, and you have achieved the best possible UX design for your site, it is ready to be turned into a prototype. Contrary to wireframes, which are static, prototypes will have some basic functionality, enabling you to test out user flows more realistically.
Choosing a platform to turn your wireframe into a prototype is a brilliant idea. For example, with Prott, you can create interactive, high-fidelity prototypes from your wireframe.
No matter which tool you use, put your prototype into another round of user testing when you’re done, so you can launch your website with full confidence.