Vexels Merch Stores are super easy to set up, leaving you to focus on the most important part of your business: selling your merch!

For the low price of $14 per month, you can request to get a custom built Merch store featuring your designs and ideas.

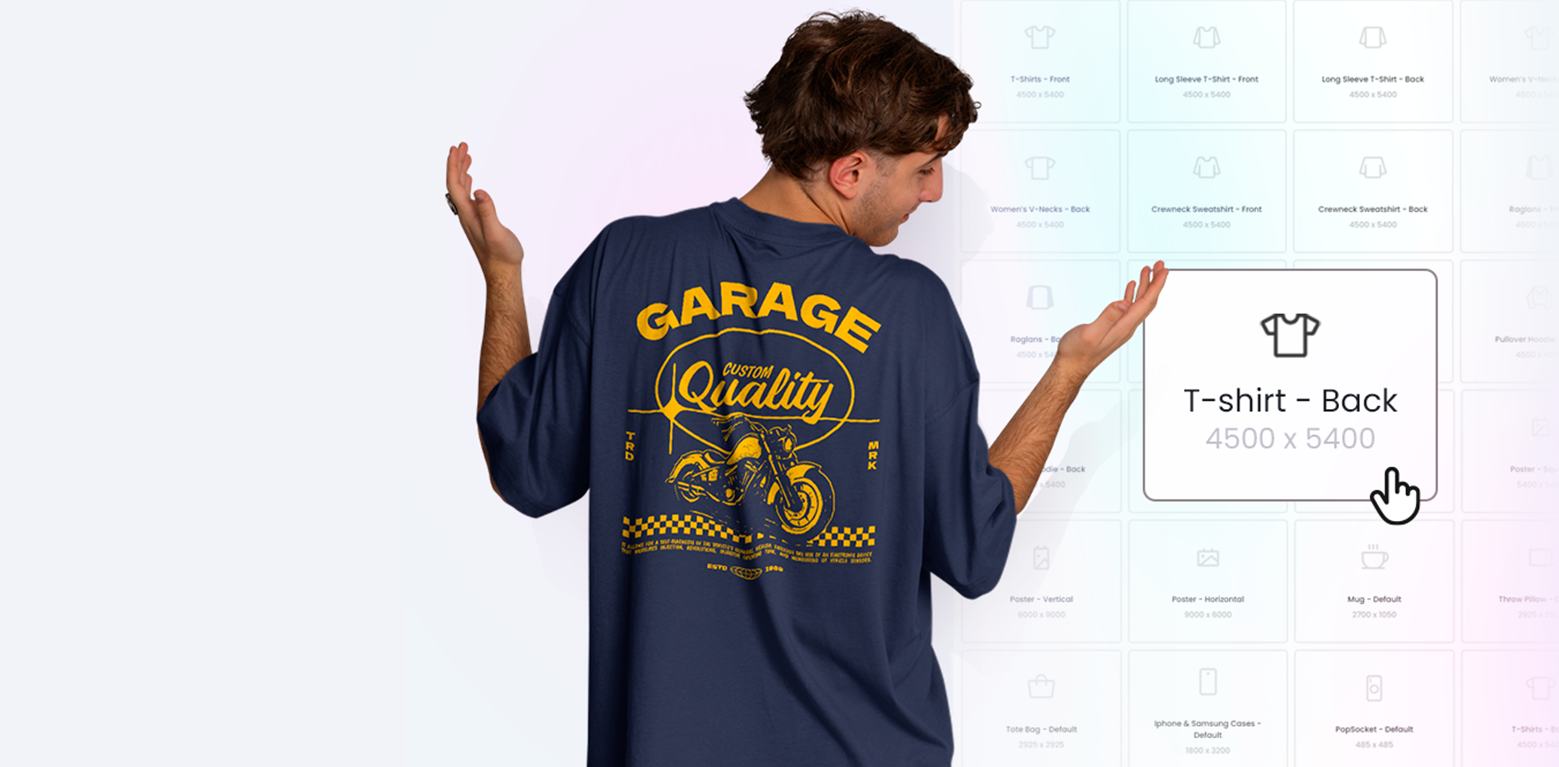
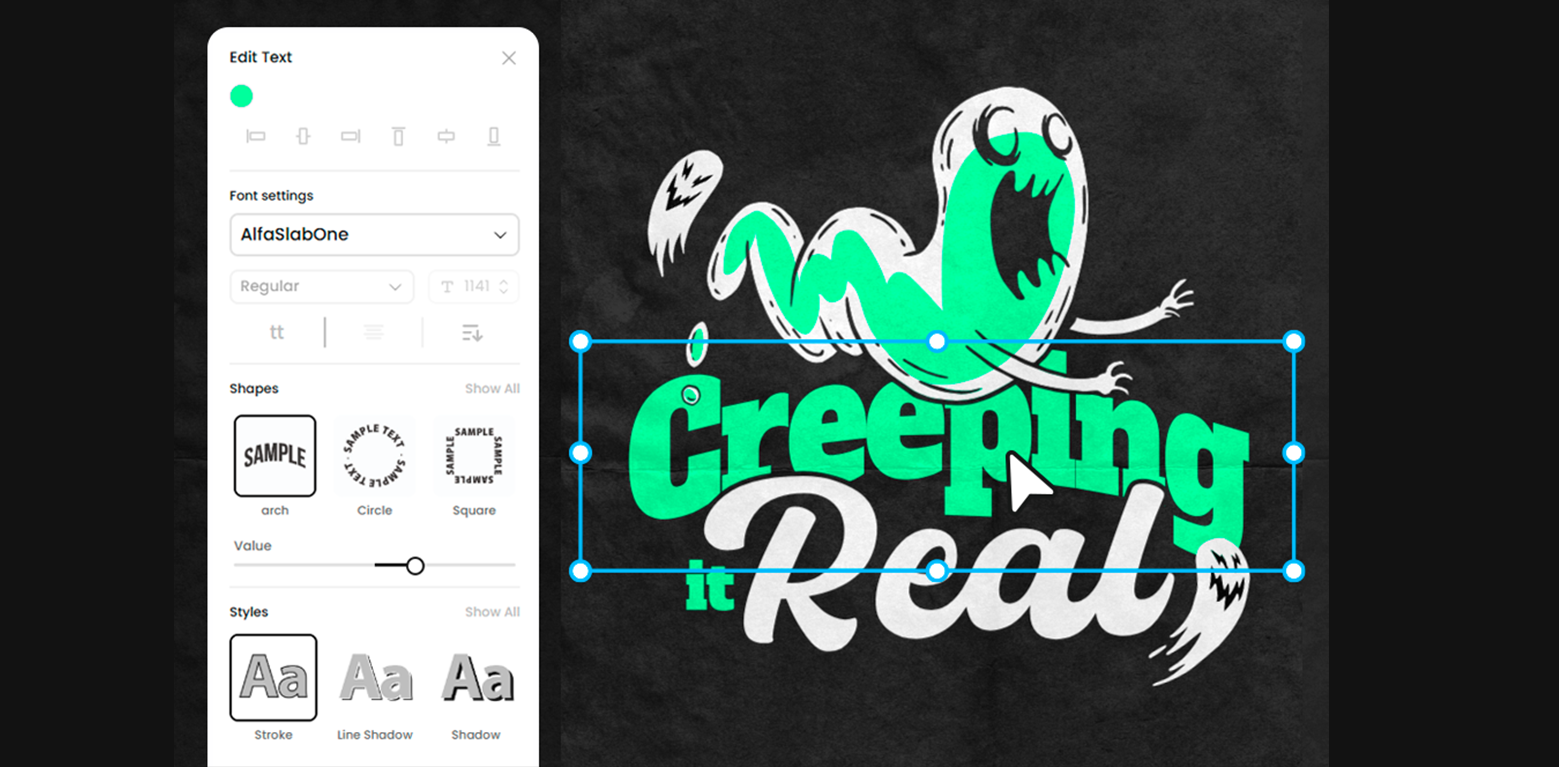
Here’s a quick tutorial on how to upload the coolest designs to your store:

1

Select a Merch Item

In order to get your store published, you’ll need to have at least 5 products created, so let’s start adding some Merch Products. In the Create Products section of your Stores dashboard, you’ll find a ton of different product categories, including merch items like T-Shirts, Hoodies, Mugs, Poster, and more. Select the product category you’d like, and you’ll see all the available merch items you can choose from. All of these products are produced, packaged and shipped by our partner Printful, guaranteeing a high quality print and speedy shipping to your customers.
2

Choose your Design

Now let’s select a design! Use our online T-Shirt Maker to create unique designs, without any design software. Browse through our Print Ready designs for an easy, design-free way of creating merch products. Simply extract the .zip and upload the transparent PNG to your store. Try using Scalable PSDs to easily create unique designs for your store, changing up some texts and images for a professional image. Use these design tools for T-Shirts, Hoodies, Sweatshirts, Tank Tops and Mugs.
3

Set Up Info & Price

Once you’ve set up your design and merch item, you can go ahead and start editing the item Name and Description, along with the Royalty %. When setting up your selling price, keep in mind that customers will also have to pay for Shipping and taxes, and will probably be comparing prices with competitors, so make sure to check all this before you set the price.
4

Edit Products

Once you’ve set up your products, you can edit some details on the My Products section. Here, you can check out all the products you’ve been adding to your store. Before being published, our Stores team will have to review the item to make sure everything’s in order, so you’ll be able to check if your item is being reviewed, Active, or Deactivated.
5

Start Selling!

Now it’s up to you to start selling! We recommend creating social media accounts for your new merch brand, so you can start spreading the word and marketing your new products.

Watch the full Stores tutorial here!

A few extra tips:

  • When creating a design with text, make sure to check the quote for active trademarks. This is super important, seeing as you could get into real trouble with the trademark owners if your phrase has any kind of trademark. We recommend these two sites:
  • If you’re not sure what to start designing, you can perform a quick keyword research and decide on a store niche you’d like to tackle. For example, if you find that there aren’t many good options for cute cat phone cases, you can start selling merch at a competitive price to start entering this market niche. Browse and download art from our niche designs once you’ve found the right niche for you!
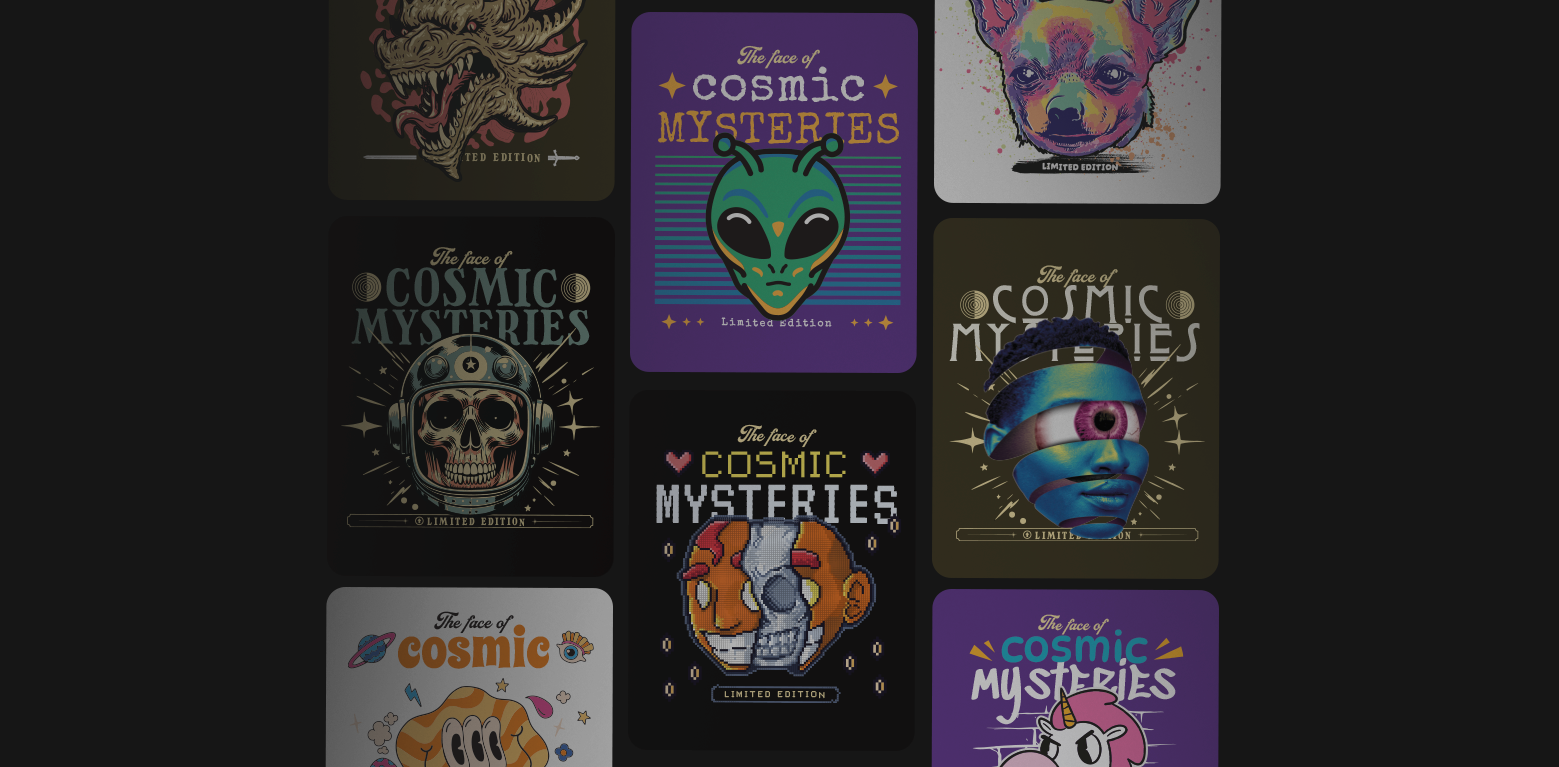
  • If you’re going for the fully aesthetically pleasing store, you can browse our Collections or even our Styles section. Uploading these designs to your products will create a cohesive look throughout the whole store, attracting the pickiest of customers.

And that’s it! You’ve got your Vexels Store set up and running.

Don’t forget to leave your feedback, so we can make these the best possible stores for you!

Don’t worry if you’re on our waiting list! You’ll get the chance in no time to start creating your best selling Merch Store with Vexels soon 🙂