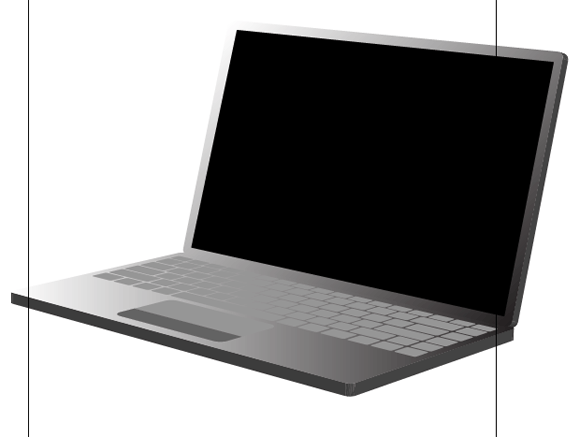
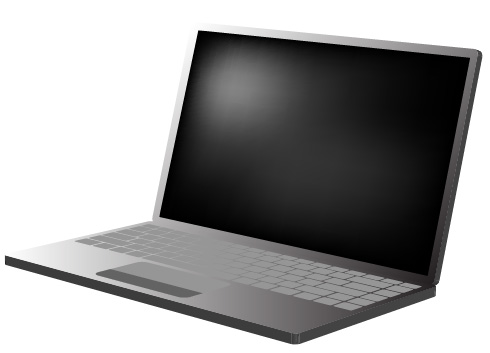
In this illustrator tutorial i will show you how to create vector laptop in adobe illustrator. If you read previous tutorial abstract design element, it will be easier for you to apply map art on 3D object, so i suggest that you read previuos tutorial first. Also you will grab a little bit of gradient mesh to create computers screen.
1. Make keyboard map art
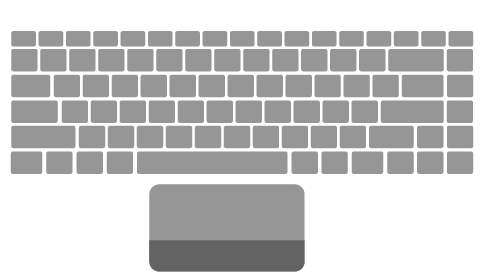
First thing and most diffucult to do is to make keyboard. You can make it by yourself with rounded rectangle tool and blend function (you learned how to use blend function in abstract design element tutorial). Or you can simply download the one that i have created.
2. Convert to symbol
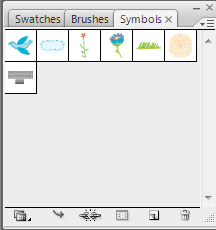
Open new document and paste keyboard. Select it and open up symbols window. Press that little arrow in the upper right corner of symbols window and then select New symbol.
3. Create computers main platform
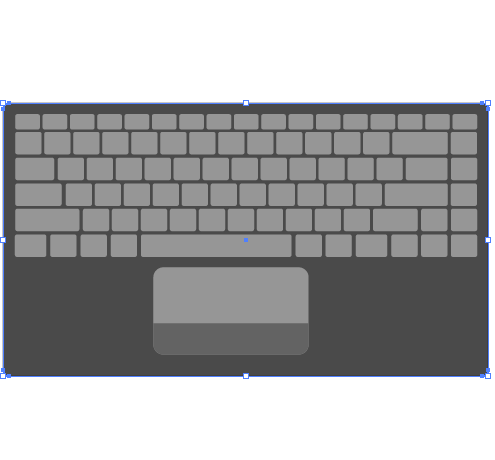
Draw rounded rectangle that are a little bit bigger than keyboard and then delete keyboard from document (you have it in your symbols palette so you dont need it in the document).
4. Convert laptop platform to 3D
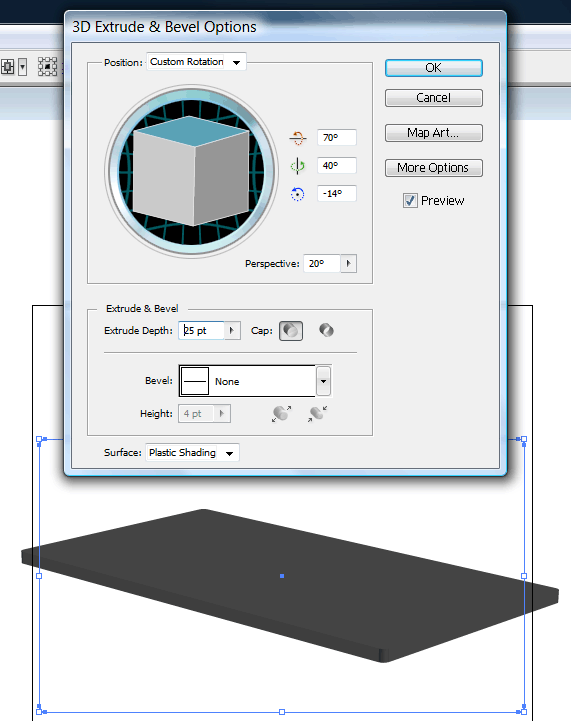
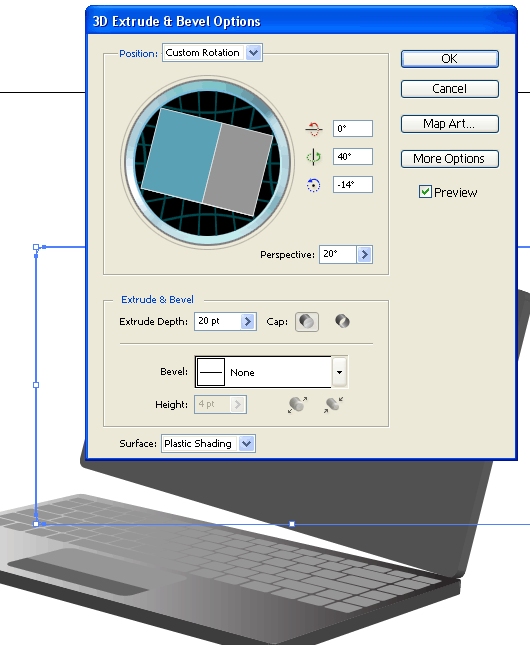
Select rounded rectangle and go to Effect/ 3D/ Extrude & Bevel. When options window appear, select all settings indenticaly to those in the image bellow.
5. Apply map art (keyboard)
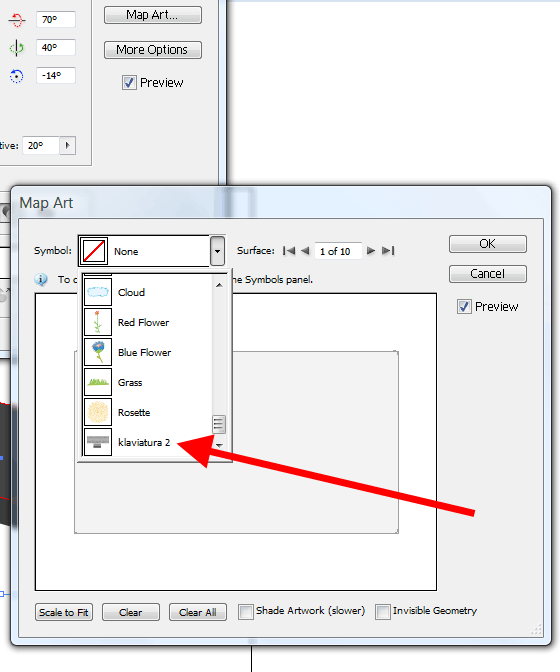
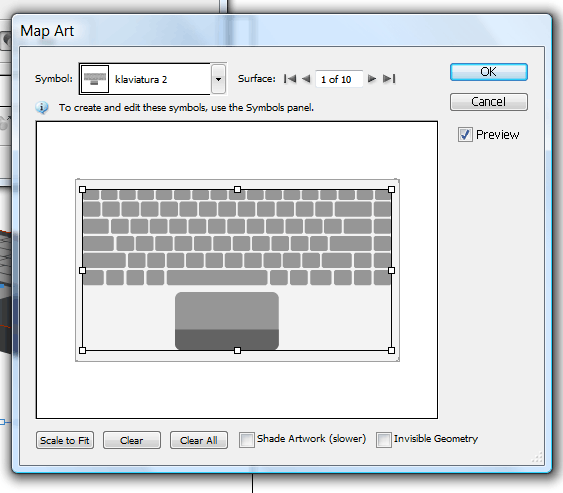
Still in the 3D options window select Map Art and apply keyboard map art.
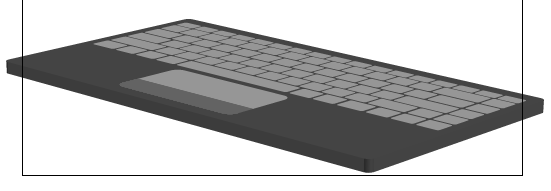
Click OK if your result looks like in the picture bellow.
Now you keyboard should look like in the image bellow.
6. Create another rounded rectangle (this will be computer screen)
7. Convert to 3D
Select it and convert to 3D by going to Effect/ 3D/ Extrude & Bevel. Choose all settings like in the preview bellow.
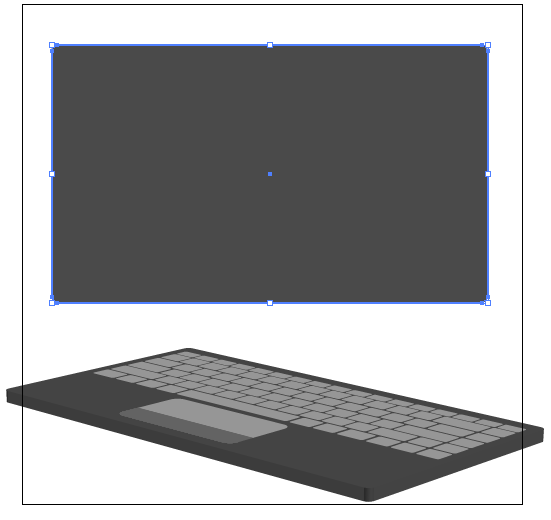
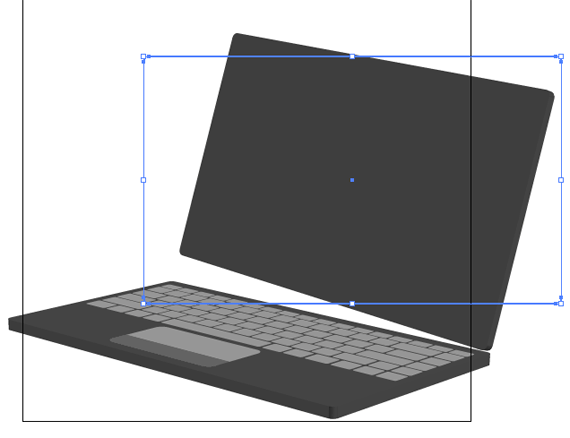
Now you shoul have something like in the image bellow. If its too big, make it smaller (hold shift button while you resize it with mouse).
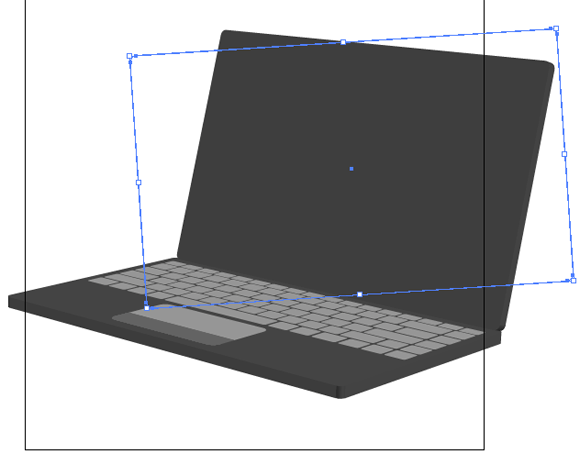
Rotate computers screen and align it to main platform. Do it manualy.
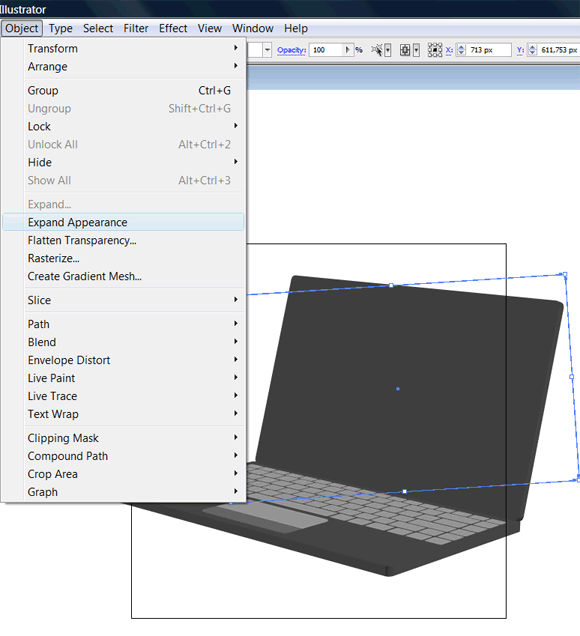
8. Expand both 3D objects
First select the screen that you have just created and then go Object/ Expand Appearance. By doing this you will convert 3D object to simple vectors.
Do the same with the main platform with keyboard.
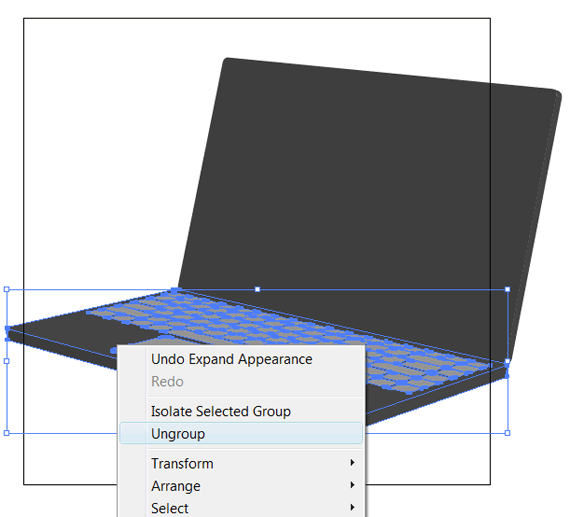
9. Ungroup everything
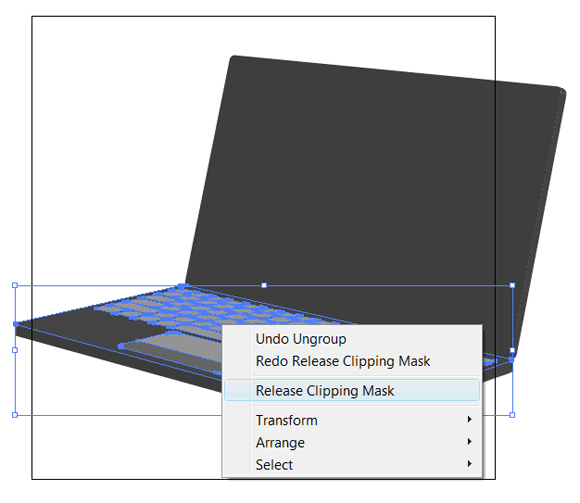
Now if you have expanded 3D objects to single grouped elements, you should ungroup it to edit colors. Select platform with keyboard and click ungroup several times, until you see Release Cliping Mask option.
Click release cliping mask
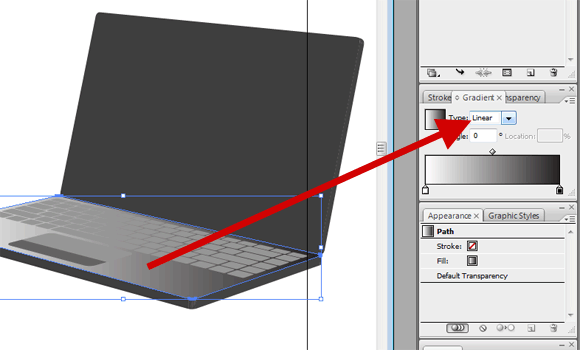
10. Apply some gradient
If you have ungrouped elements, select the platform only (now it should be separated from the keyboard because you ungrouped it). In the gradiend window select Linear. You have applied default gradient on computers platform. Leave it for now as it is.
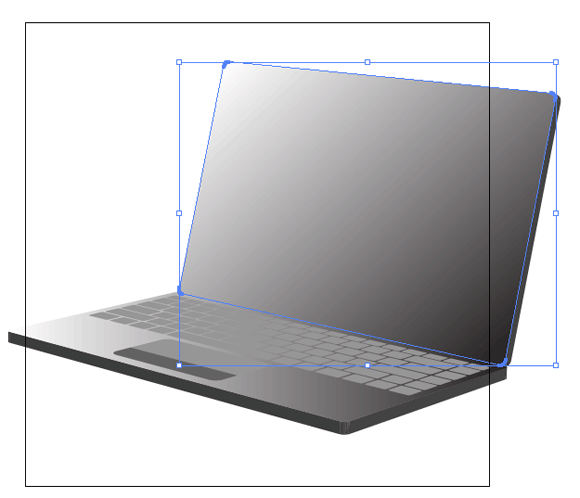
Apply the same gradient on the screen. Leave it as it is for now.
11. Draw a black shape on top of the laptop screen
I have created this shape with pen tool. Its very simple, click four times with pen tool near the corners of computers screen. Play with it until you get desired result. Play with pen tool to master it because its the most important tool. This will be your computers LCD screen.
12. Apply gradient mesh
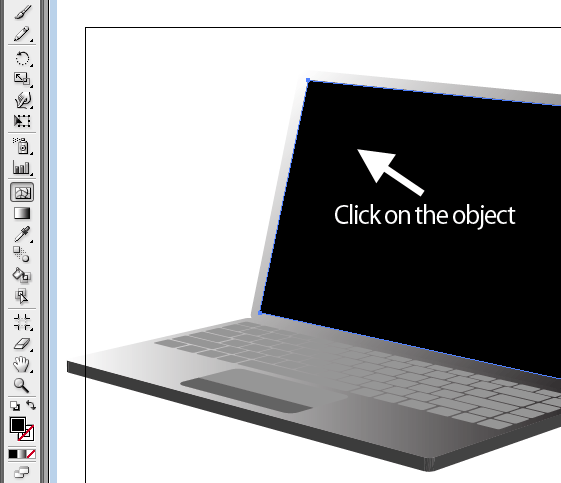
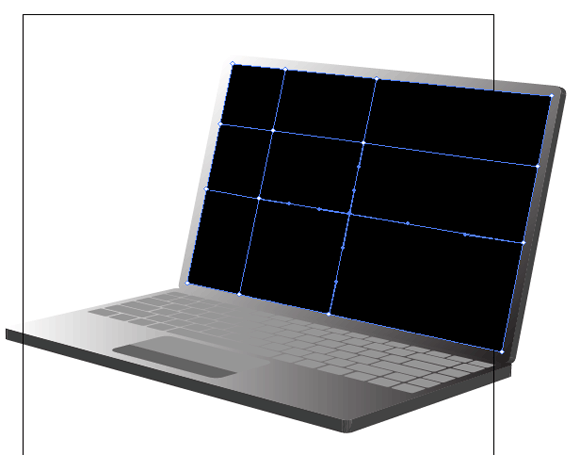
With LCD screen selected, click on the gradien mesh icon in your tools palette on the left side. With this tool selected, click on the computers LCD screen somewhere in that area that is shown in the picture bellow.
Now click in a little lower right area of LCD screen to make more gradient mesh points.
13. Add color
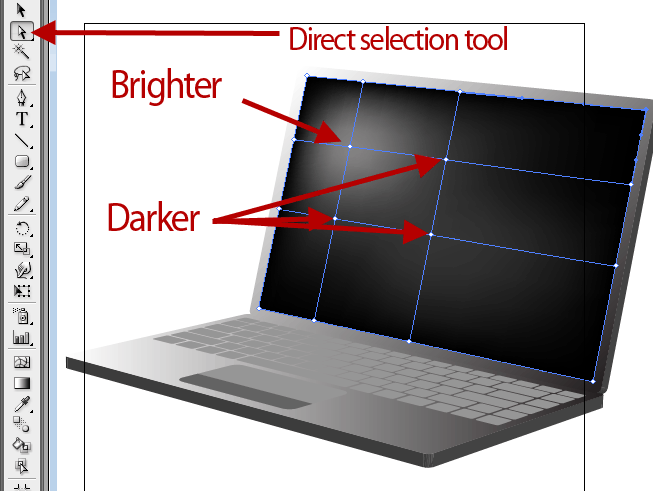
Using direct selection tool select the first point of the gradiend mesh (Brighter) and choose brighter shade of gray. Now again using direct selection tool select other three points (Hold shift button while selecting). Make it a little darker than first point. At first gradien mesh could be hard to control, work with it to see how it works.
Thats it for now. Your computer should look similar to the example in the picture bellow. Feel free to ask questions in the comments sections.

