Creating backgrounds is an everyday need for most designers. Having some quick alternatives when is time to came up with a backdrop is always handy and effective.
Halftones look cool and can be used in many ways: as background, to fill a shape, to give color to an object, etc.
For those who belong to the digital era might not be so obvious where halftones came from. Old printers used to use dots of different sizes to create gradients or fills, those little dots is what today we call halftones.
This time we bring an easy and fast way to create halftone backgrounds in 7 simple steps. Halftone designs are among those techniques any designer should have, suitable and adaptable to many requirements. And the best part is that you’ll get a good looking halftone background in a few minutes.
Halftone backgrounds in 7 easy steps. 3, 2, 1 …. Here it goes!
Step 1
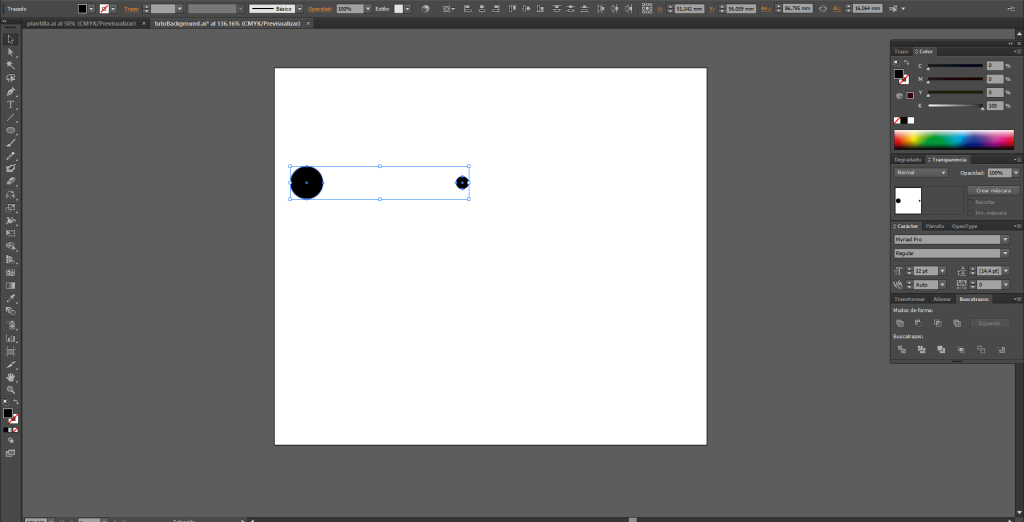
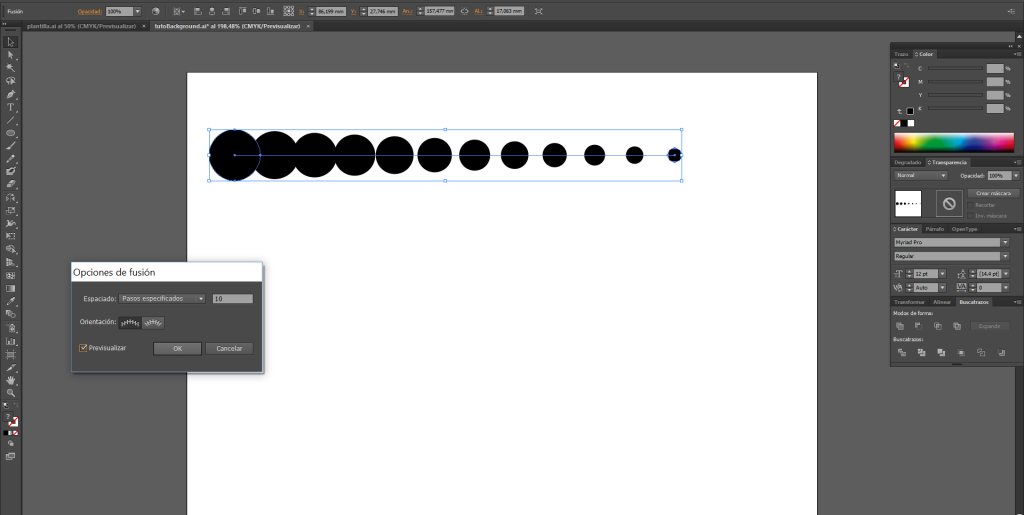
Draw a circle and fill it. Determine the desired lengh by drawing another circle. Select both circles.
Step 2
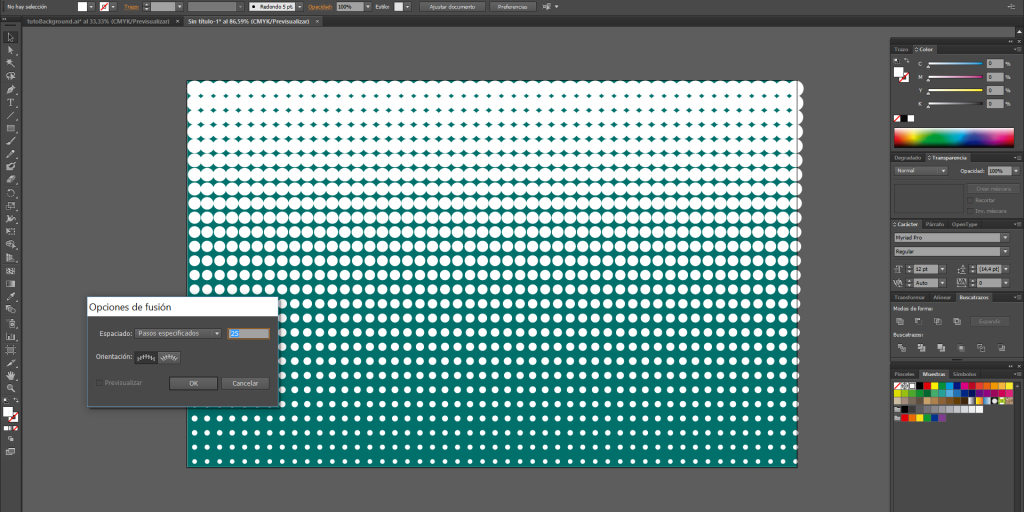
Go to Menu, Object, Blend, Blend Options. In the browser next to Spacing select Specified distance. The number sets the distance between the circles and the shape progress till the last circle. For this example we set a Specified distance 10.
Step 3
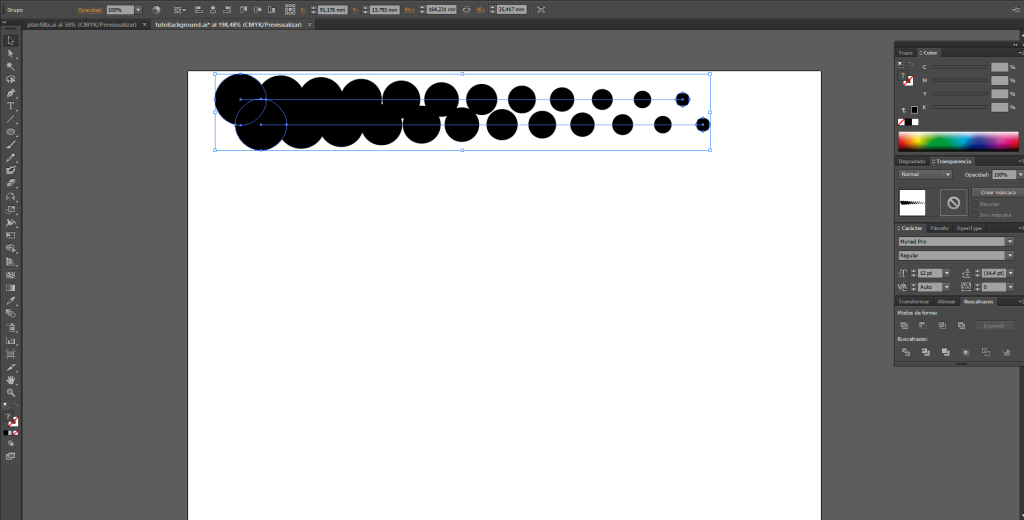
Duplicate (drag the object pressing ALT) the whole line and place it below, where the centre of the circles in the second line coincide with the perimeter of the circles in the first line. Move the second line to the right, so that each circle fits between the ones in the first line.
Step 4
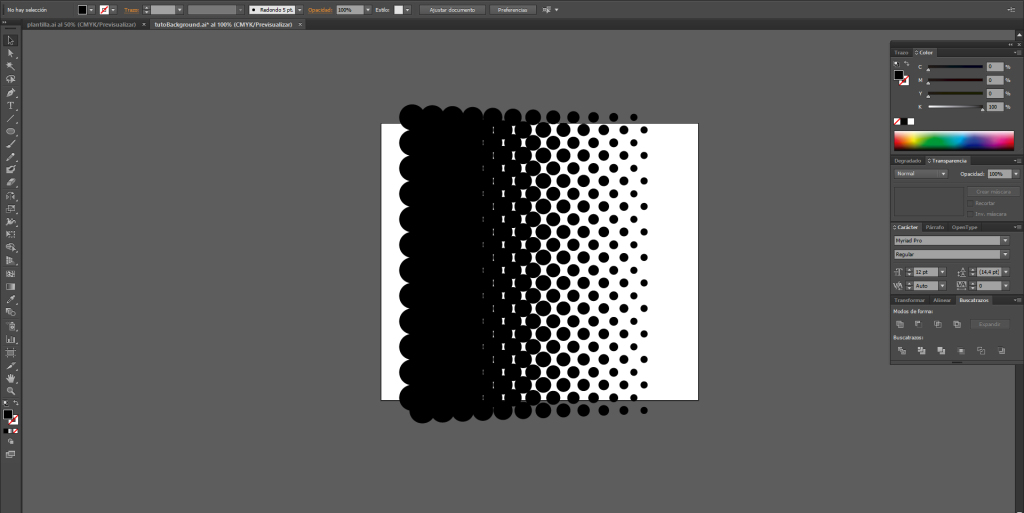
Select both lines and duplicate them below as many times as desired using (CTRL +D) or (CMD+ D on Mac). CTRL +D (CMD+ D on Mac) will repeat last action as many times as desired.
Step 5
Create a colored rectangle and place it between the canvas’ border and the circles to fill the blank spaces left.
Step 6
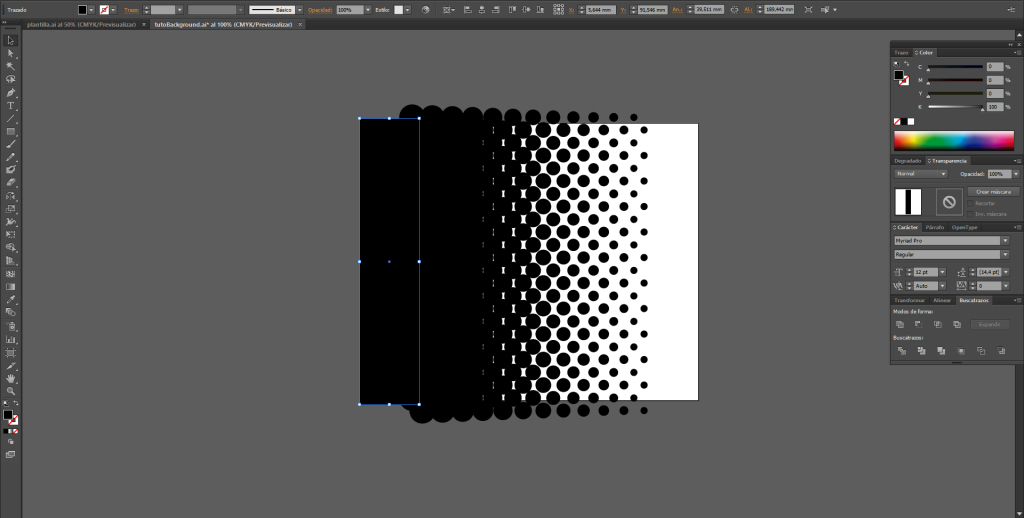
Select a square above the design and go to Menu, Object, Clipping Mask, Make.

Step 7
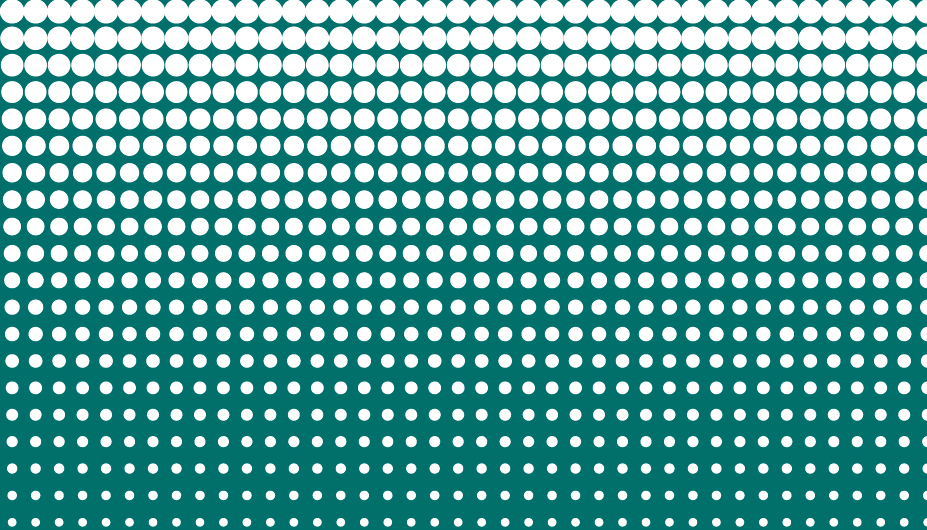
Color the circles and background. Here is where you can play with different colors, filters and other tools to create different effects.
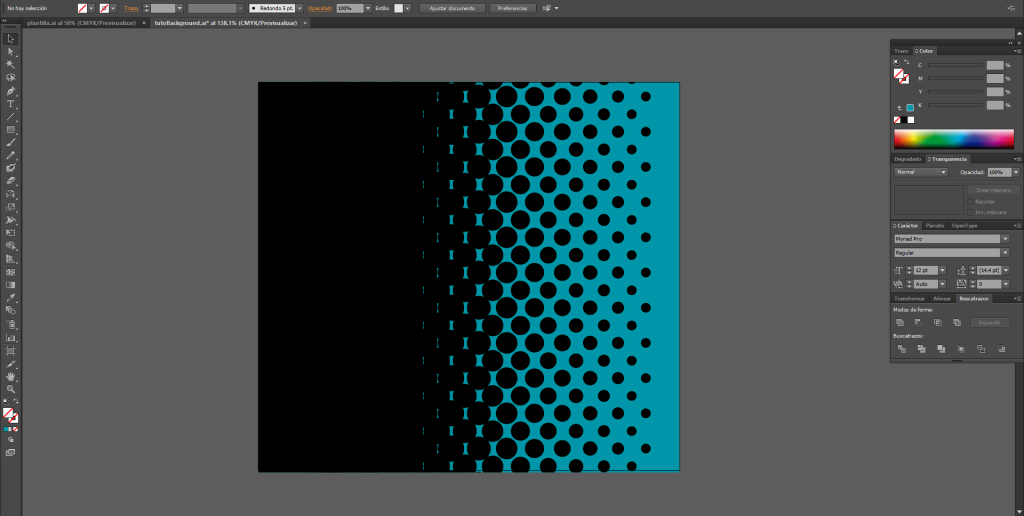
If you choose a bigger number in the Specified distance number you’ll get an effect similar to the one below done horizontally. In this case we put a 25 to have shorter distances between the circles.
We hope you found this tutorial useful. We’ll love to prepare new vector tutorials for you! Just leave your comment with your ideas and needs!
Have fun and give it a try!