Starting an online business can seem challenging and overwhelming. Even though that’s often true, it doesn’t have to be that way. That’s why we have created a simple and solid framework to help you make your own merch and build an online store in 3 simple steps.
These three steps are part of a merch selling cycle whose repetition is essential for your store’s proper functioning and development. It consists of creating, promoting, analyzing, and then repeating.
💡 The most important thing? Starting the process! You’ll have time to perfect it later.
1. CREATE
A. Know Your Audience
The first step to start creating merch is to know your target audience very well. For that, it is crucial to find the right niche.
What is a niche?
A niche is a specialized segment of broader markets, based on the needs, preferences, and identities of an audience.
- You can start with a simpler idea before finding a niche. The most important thing is that you get a kick-to-start.
- Search for keywords and delve into more specific topics until you find a profitable niche you are passionate about. Social media is the best place to start!
- Ask yourself questions about your own interests and behaviors and try to identify problems your potential target audience might want to solve. If you already have an audience, consider surveying them to get a better idea of what they like or need.
💡 Get inspired! Discover trends, key dates, and tips in our monthly merch digest, or try browsing our merch designs to get some inspiration.
B. Define Your Products
Selling merch not only involves putting a design on a product but also knowing how to choose which products and designs best fit your audience. You can select these products according to:
- Your niche: It’s likely that the niche you have chosen will give you good clues in this regard. For example, if your niche is related to an office job, mugs, notebooks, and planners are good options. If you plan to start a clothing brand, the most sensible thing would be to choose t-shirts, hoodies, or hats.
- Your audience: Try to understand your audience by studying their characteristics and needs to choose best-selling products. If you already have an audience and want to create merch for YouTube or TikTok, for example, you can research what products other creators offer. Is their audience similar to yours? Could the same products work just as well for you? Do you think your followers would want to buy and use products from a clothing line?
- Prices: How much money is your audience willing to spend? Pay close attention to the competition when deciding product prices. There will likely be a certain range for each type of product. Selling a product at a much lower price than the competition can be just as counterproductive as selling it at a much higher price. Be careful to choose a suitable price that fits both your needs and those of your target audience.
Design Your Products
 Finding the perfect design is key. Aesthetics have value, but the most important thing is to create a product that your audience wants to use. For this, it must be good quality, eye-catching, and, above all, it must have a design that resonates with the audience.
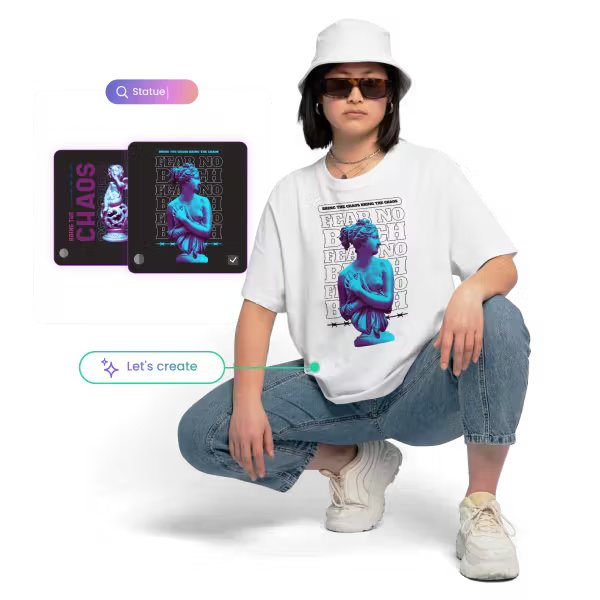
- Focus on your niche and select unique, quality designs. Use our design tools like the T-Shirt Maker with quality templates and an AI Generator to create incredible designs based on the niche you are working with.
- Add quotes that resonate with your audience or make them laugh to make your product more attractive and relatable. You can use our Quote Generator, which allows you to generate quotes based on the niche you have chosen.
Here are some ways to design your merch:
- Hire a freelancer. Typically, the cost per design is $60.
- Use editable stock designs, which you can edit with design software such as Photoshop or Illustrator. You can browse our design library to find merch ideas or request a design to get custom designs.
- Design it in an online tool. For example, our T-Shirt Maker and create your own original designs.
- Automate the design with AI in our AI Generator for Merch.
Prepare Your Designs
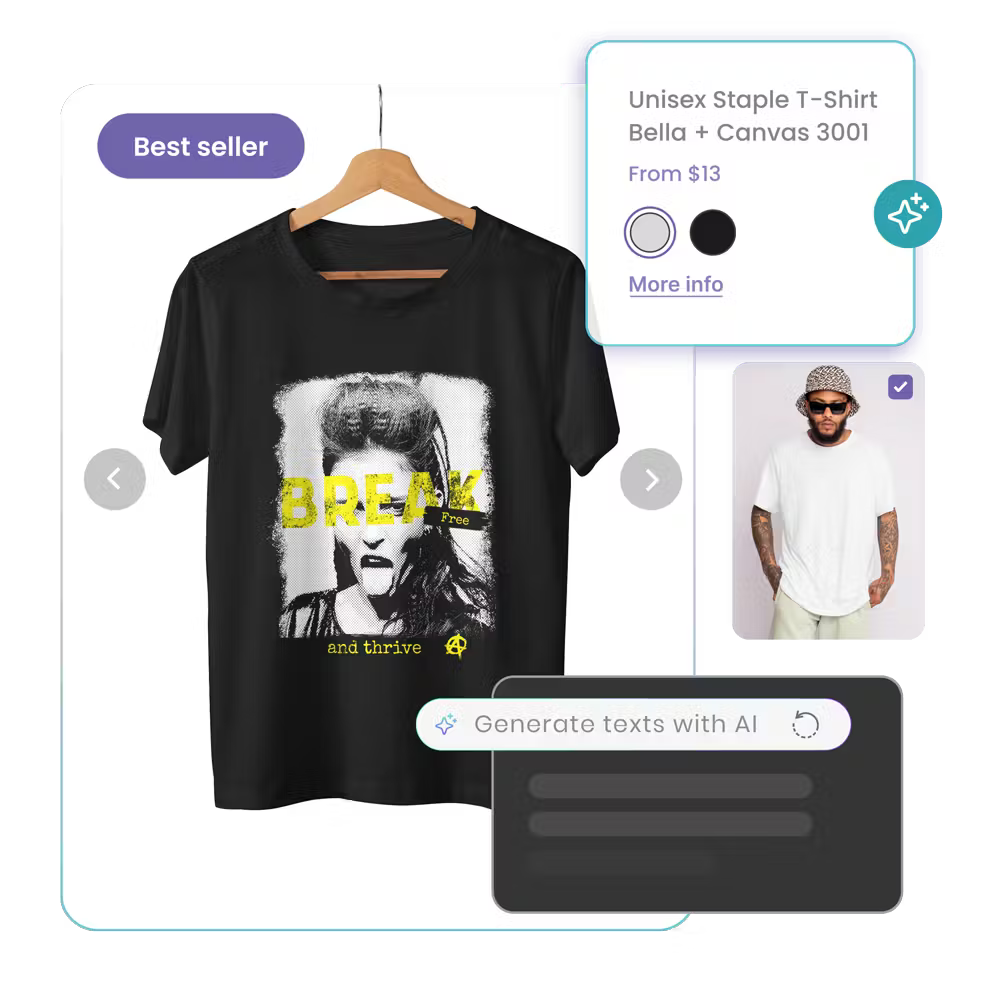 Make a mockup. This way, your audience will be able to get a better idea of what the design will look like in real life on the selected product. Don’t forget to create different color variants, if applicable. To make a mockup, you can:
- Use a stock of editable mockups.
- Use our mockup generator in your browser with no need for extra software.
- Automatically match your design to a product with the product match tool in our Merch Maker.
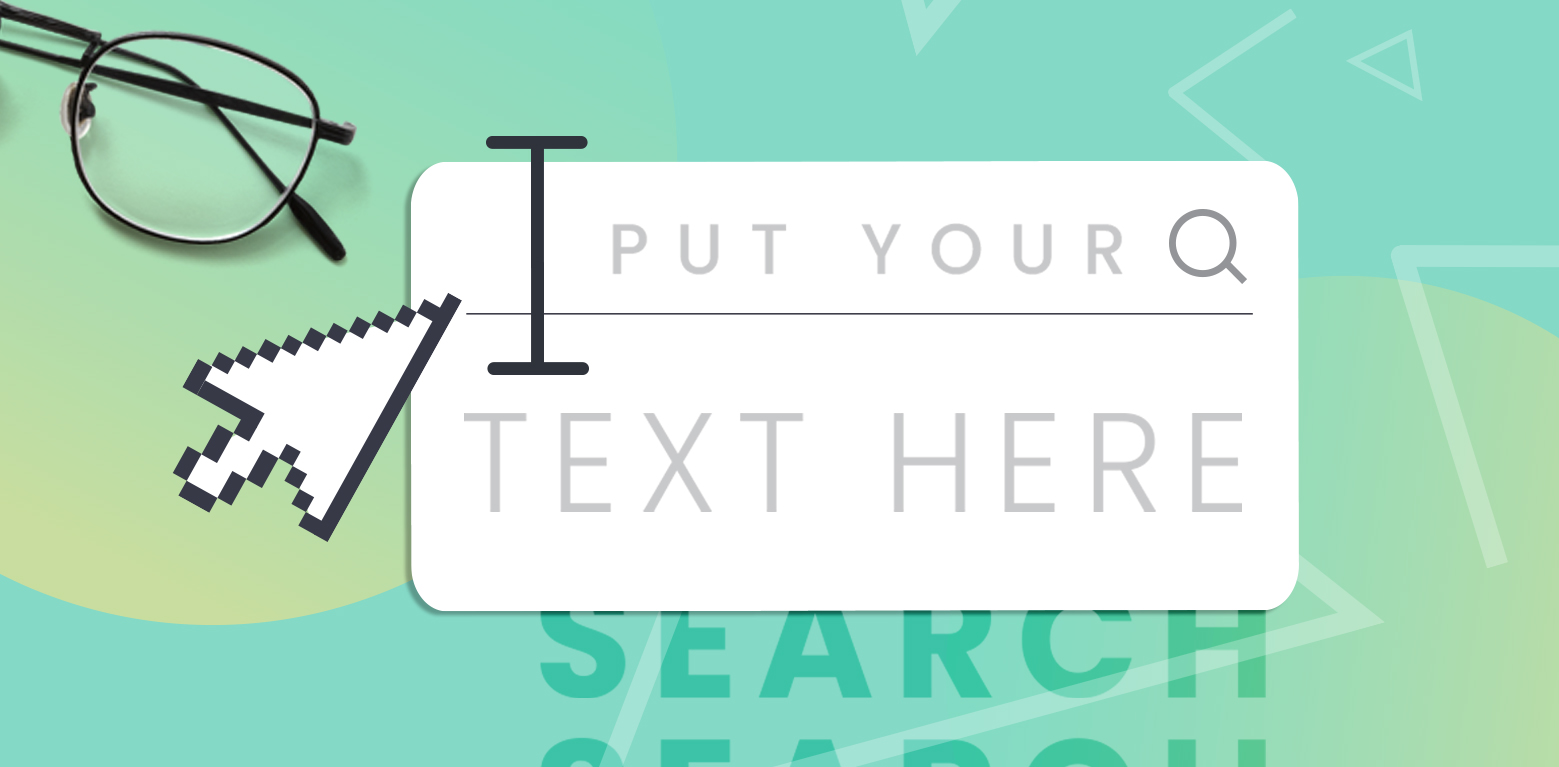
- Use SEO for titles and descriptions. Search engine optimization, a way to improve the visibility of your website in search engines like Google or Bing, will help you reach the audience you want to reach more easily by using them in your texts to rank higher on search pages. Remember to conduct thorough keyword research to understand how your target audience searches for your products. This research will help you identify the most relevant keywords to include in your titles and descriptions.
💡 Learn how to find trending keywords for your merch store
Remember, the goal is to make your content easily discoverable by aligning it with the terms and phrases your potential customers are likely to use when searching online.
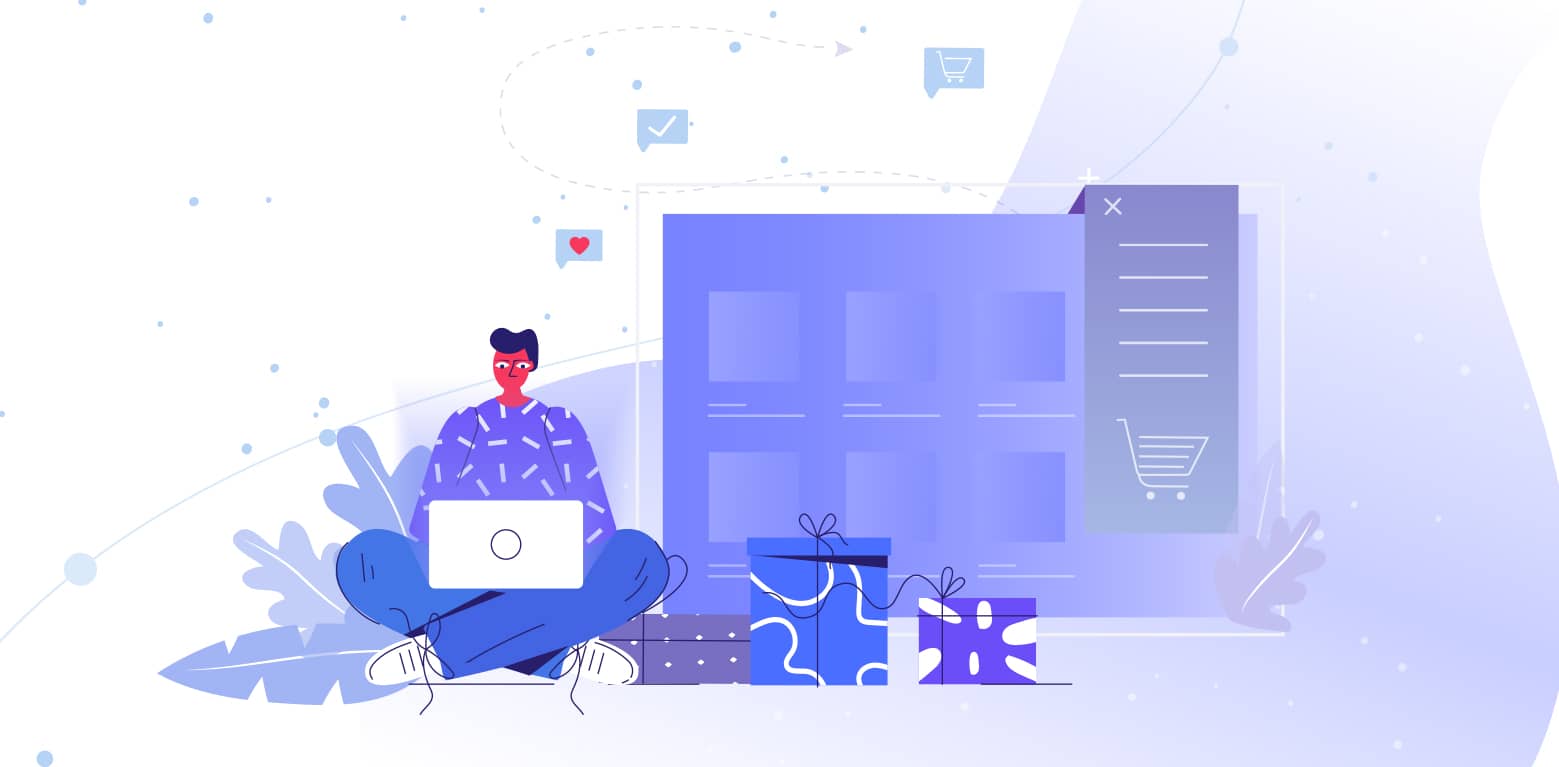
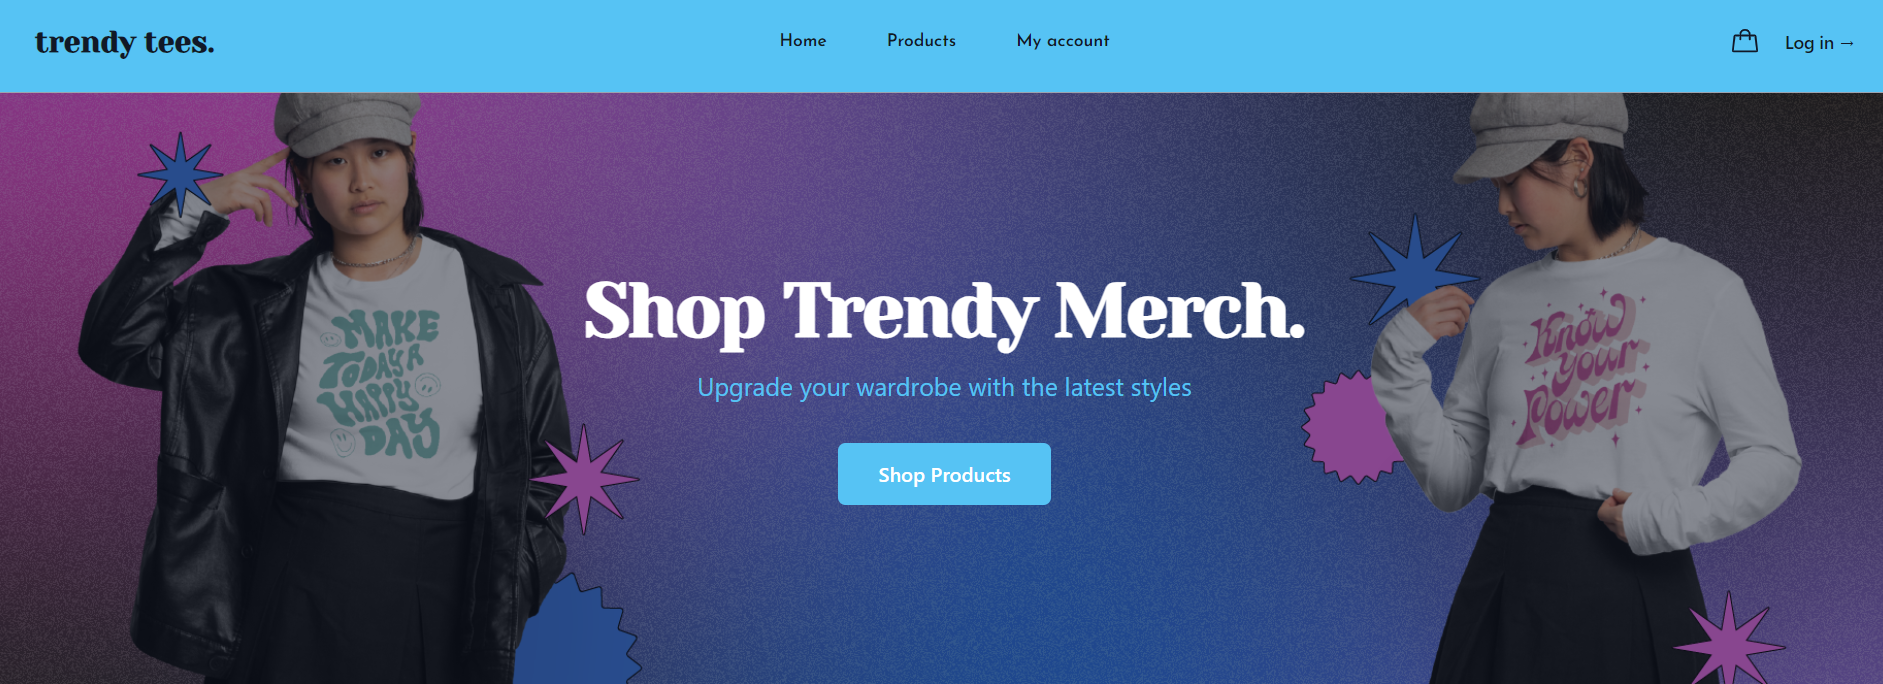
C. Create Your Store
Your store will be the point of contact with your potential customers. Therefore, it shouldn’t only be clear and easy to navigate, but also attractive and in line with the niche you have chosen. Above all things, your online store should be useful to your audience.
First of all, reflect on which is the best option for you. Of course, you could use an online marketplace like Amazon instead of creating an online store. However, although it provides built-in traffic, it also implies fewer royalties, little visibility of the analytics, and following the platform’s rules without exceptions. We strongly suggest you build your own store. Let’s talk advantages and disadvantages for a minute to understand why.
The pros of setting up your own online store are:
- More control. From the design to the products you sell, you can create a unique shopping experience that reflects your brand and vision.
- Higher profits. You can set your own prices and keep all of the profit, not having to share a percentage with a POD platform.
- Flexibility. You can experiment with different products and designs, without limitations or restrictions set by a POD platform.
And the cons are:
- More responsibility. You’re responsible for all aspects of your store, including making the connection with a print-on-demand fulfillment site and customer support.
- Less traffic. Without the built-in traffic of a POD platform, you need to drive traffic to your store through marketing and advertising efforts.
- Usually, higher costs of hosting and building an ecommerce site.
Why do we suggest making your own store? We suggest creating your own store for greater control, higher profits, direct customer relationships, and flexibility. With your store, you control branding, customer interactions, and pricing. Unlike marketplaces, you’re not bound by their rules or fees, enabling you to build a stronger, more independent business.
There are certain essential steps to start an online store of your own:
- Finding an e-commerce that adapts to your needs. Take into account their unique features, pricing, and how easy it would be to use them for your purposes. Also, bear in mind which payment gateway are you going to use.
- Connecting your store to a print-on-demand platform. POD is an order fulfillment method where you design products and your partner company prints and ships them to your customers for you.
- Customer success. You must be attentive to your clients’ queries and complaints and look for the most efficient way to solve their problems.
Moreover, be careful with your store design; from selecting different sections to the clarity of the information and the colors you choose, the entire website must be relevant and useful to the user. It should be possible to identify the type of store and products you are selling as soon as you enter, so keep that in mind when choosing an aesthetic.
💡 Don’t forget to choose a catchy name for your brand and domain. Use SEO to your advantage and add a keyword related to your niche to your brand name and your domain name.
2. PROMOTE
Now that you’ve created your store, it’s time to bring in some people. Generating good traffic to your store is essential since that’s where you’ll make sales. Your audience needs to find you, and there are several ways you can achieve this.
- Advertise. Start building an online presence before launching your store to create an audience and, from then on, use social media to promote your products and connect with your followers. Use Google or Facebook Ads to target specific audiences. Also, blog regularly about topics related to your products to attract traffic to your store and become an authority in your area.
- Boost your products. When listing your products, write SEO-rich, concise descriptions, highlighting benefits and features, plus any other relevant information like the price, color, or weight.
- Keep it updated. It’s also crucial that you keep your store updated. Products, prices, seasonal discounts… Be on the lookout for any opportunities to increase sales that may arise, as well as different trends related to your niche.
💡 If you already know which social network your audience uses the most, that’s the place to start! You will have time to experiment with other platforms later.
3. ANALYZE
The story doesn’t end when your store is set up. Once you start selling, it is essential that you gather and study data to optimize your store. If the idea of reading sales reports and analyzing the results seems overwhelming, don’t worry: it’s much easier to do if you take it one step at a time, with small goals.
- Set KPIs. A key performance indicator is a quantifiable measure of performance over time for a specific objective. Choose at least one key metric that acts as a north star throughout the process and track it. The number of store visits or the number of conversions are good options.
- Collect data and draw conclusions. Use the analytics tools of your choice to gather data on your sales. What worked and what didn’t? Why could it be? Analyze your users’ behavior to discover which products they buy the most, for example, or what times of the year you tend to have the most sales.
- Improve. Now that you know what happened, use that information to improve your store! Set relevant objectives; you can use prioritization strategies such as the ICE Scoring Model, for example, to have a firm guide on the path to follow.
💡 Prioritize the most approachable actions to get results faster and improve continuously.
Stay within this loop to continue improving your online store more and more.
What are you waiting for to start your new online store?